Set up the Honeycomb MCP server
The Honeycomb MCP server gives AI agents access to your team's observability data — querying datasets, browsing environments, and analyzing trace and log data. This guide covers enabling Honeycomb Intelligence, generating credentials, and connecting Honeycomb's hosted MCP server to MintMCP.
Prerequisites
- A MintMCP admin account
- A Honeycomb account (sign up at honeycomb.io)
- Honeycomb Intelligence enabled on your team. A team owner can enable it under Account > Team Settings > Honeycomb Intelligence.
Server endpoint
Honeycomb hosts the MCP server at two endpoints depending on your region:
| Region | URL |
|---|---|
| US (default) | https://mcp.honeycomb.io/mcp |
| EU | https://mcp.eu1.honeycomb.io/mcp |
Use the URL that matches where your Honeycomb team is hosted. You can confirm your region under Account > Team Settings.
Add Honeycomb to MintMCP
There are two ways to authenticate: per-user OAuth (recommended) or a shared Management API key.
- Per-user OAuth (recommended)
- Management API key
Per-user OAuth lets each team member authenticate with their own Honeycomb account. MintMCP handles OAuth client registration automatically — no app registration needed.
- In MintMCP, go to MCP store > Manage store
- Click + Add an MCP to your registry → Connect to an MCP by URL
- Enter the server URL for your region (see Server endpoint above)
- Set Connection type to Per-user credentials
- Set Authorization method to OAuth
- Click Create
When users first use the Honeycomb MCP server through MintMCP, they are prompted to authorize access with their Honeycomb account.
Use this option for unattended agents or when team members don't have individual Honeycomb accounts. Only team owners can create Management API keys.
Generate a Management API key
-
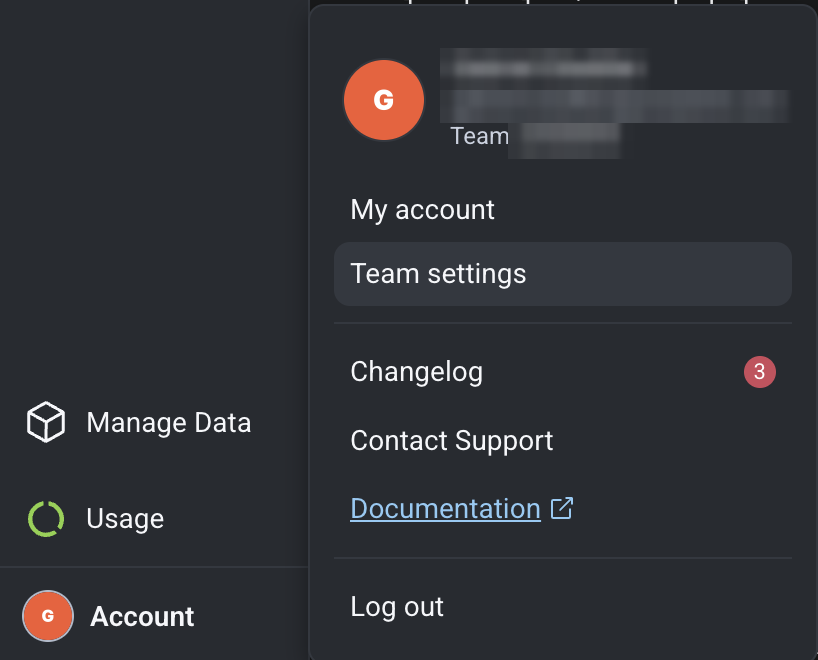
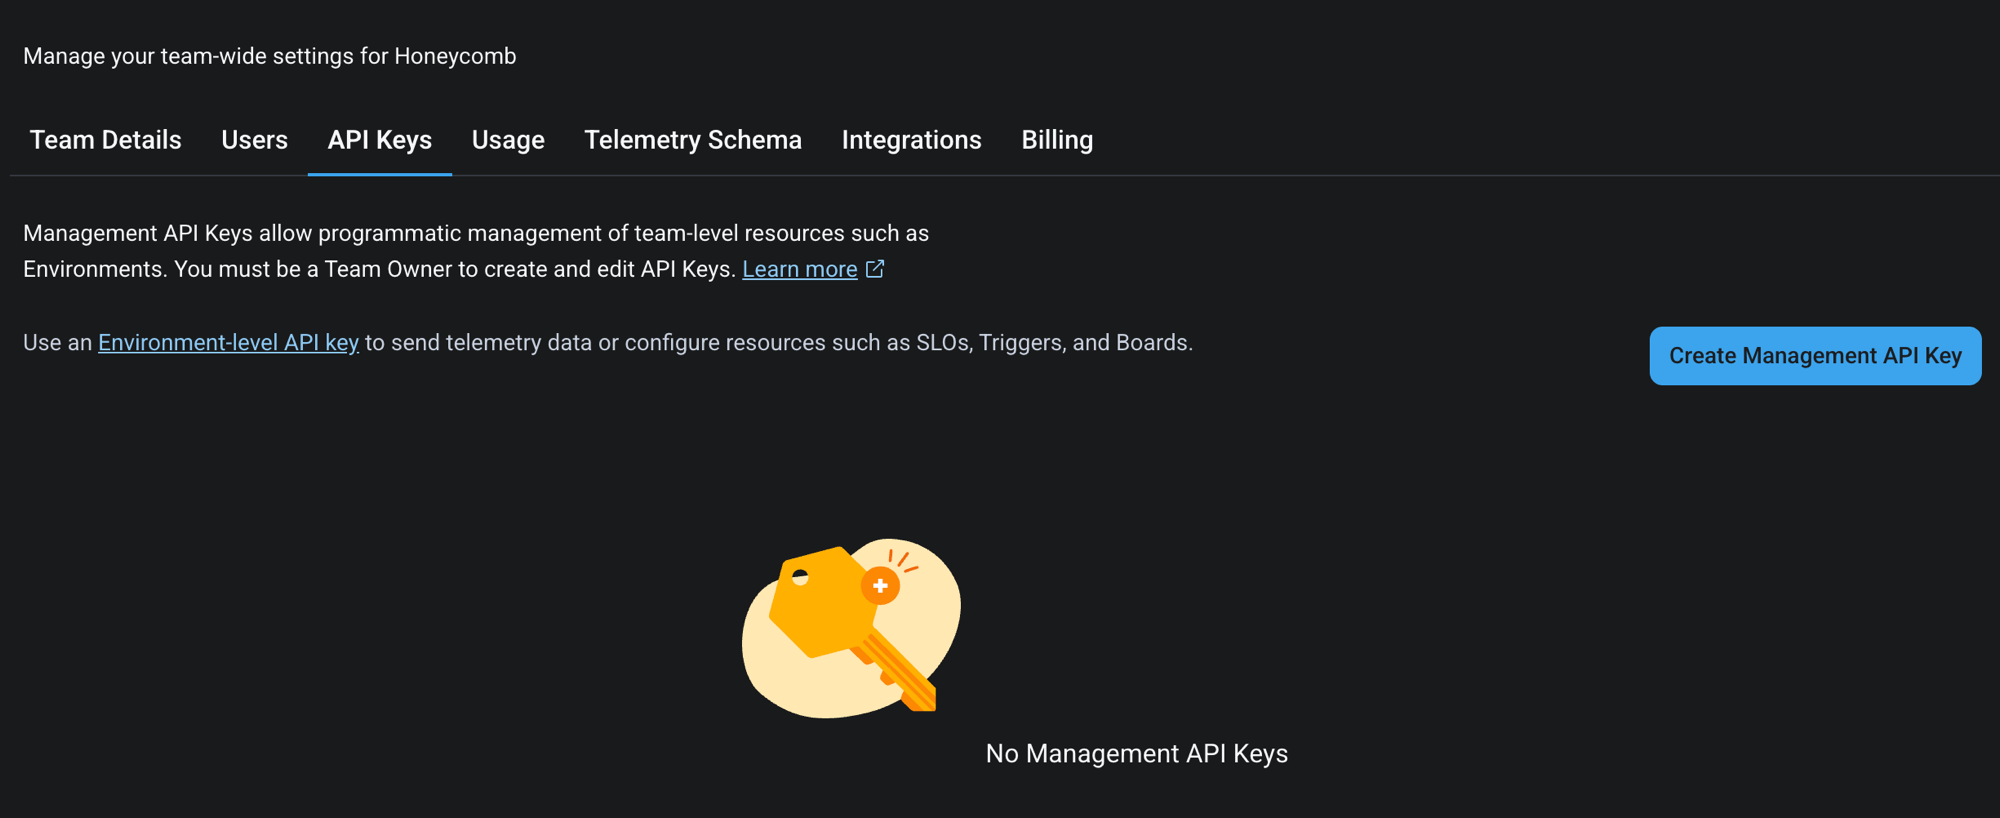
Log into Honeycomb and go to Account > Team Settings > API Keys
-
Click Create Management API Key
-
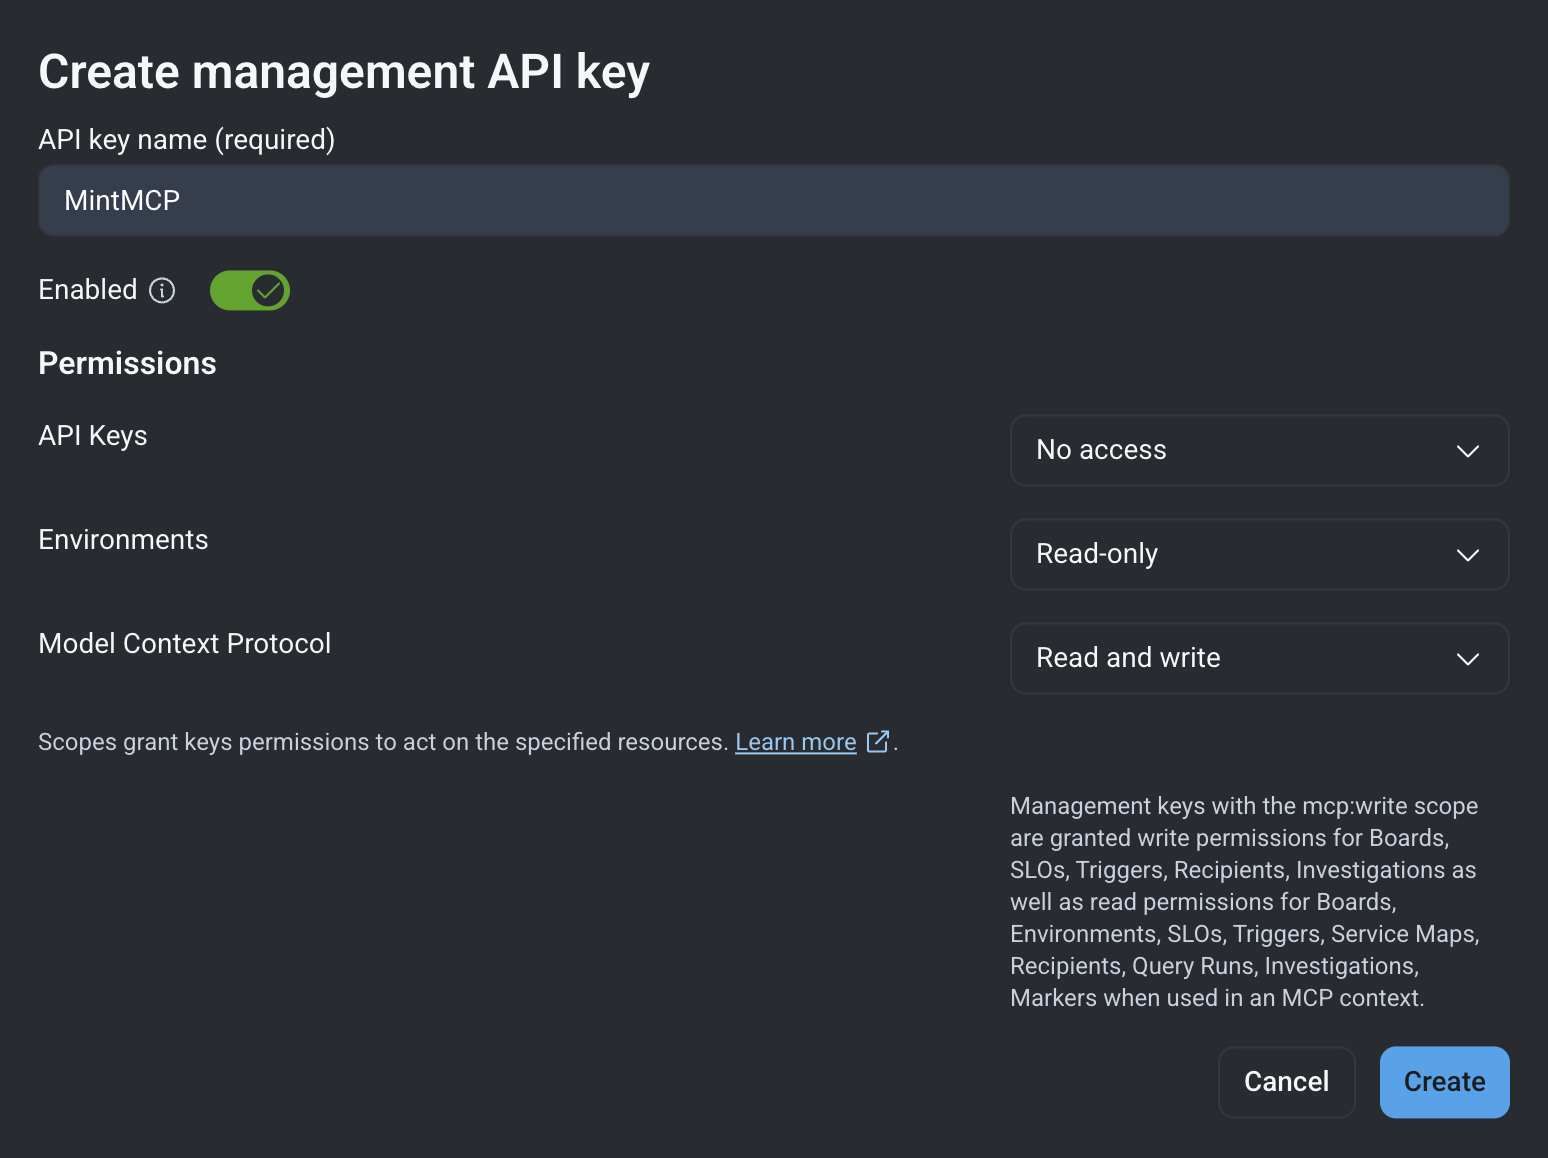
Name the key (for example, "MintMCP")
-
Under Model Context Protocol, select Read
-
Under Environments, select Read
-
Optionally, under Model Context Protocol, also select Write — required for tools that create or update Honeycomb resources (boards, triggers, SLOs, notification and alert recipients, and Canvas investigations)
-
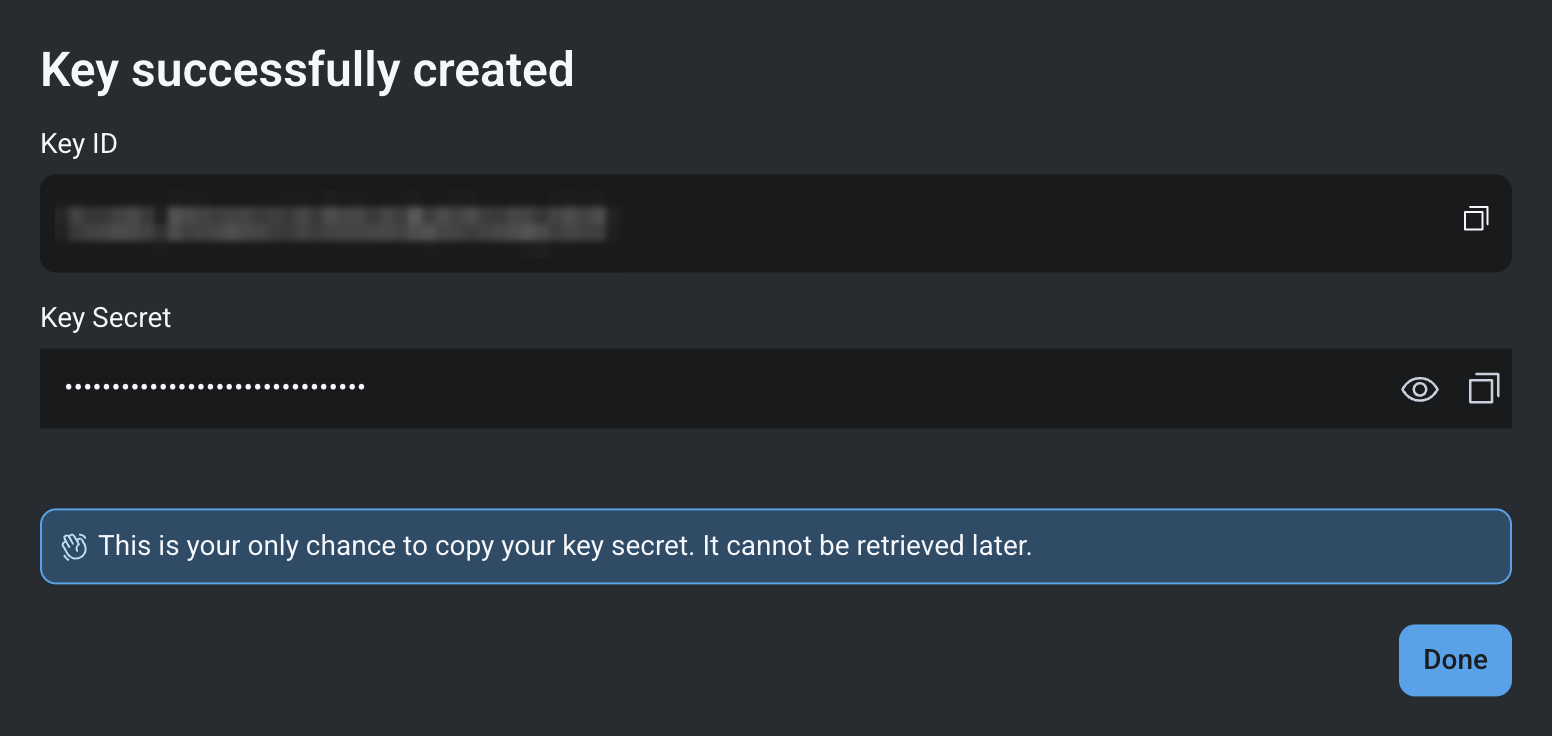
Click Create and copy both the Key ID and the Secret Key — you cannot retrieve the secret key after closing this page
Scope reference:
| Capability | Scope | Permission |
|---|---|---|
| All MCP operations | Model Context Protocol | Read |
| List environments | Environments | Read |
| Create or update resources | Model Context Protocol | Write |
Connect in MintMCP
- In MintMCP, go to MCP store > Manage store
- Click + Add an MCP to your registry → Connect to an MCP by URL
- Enter the server URL for your region (see Server endpoint above)
- Set Connection type to Shared credentials
- Set Authorization method to Bearer token
- Enter your bearer token in the format
KEY_ID:SECRET_KEY, replacingKEY_IDwith your Key ID andSECRET_KEYwith your Secret Key - Click Create
Security considerations
- Management API keys are shown only once at creation — store the Key ID and Secret Key somewhere safe before closing the page.
- Limit API key scopes to what your team needs. Read on both Model Context Protocol and Environments covers most operations, so add Write only when your team needs tools that create or update resources.
- Only Honeycomb team owners can create Management API keys.
- Per-user OAuth ties each tool call to an individual Honeycomb identity, which provides a cleaner audit trail than a shared API key.
Next steps
- Tool customization — Control which Honeycomb tools are exposed to users
- MCP gateway administration — Manage access and permissions