Connect Claude Code to MintMCP
Connect Claude Code CLI to MCP servers managed by MintMCP.
Prerequisites
- Claude Code CLI installed
- A MintMCP account with access to at least one MCP server
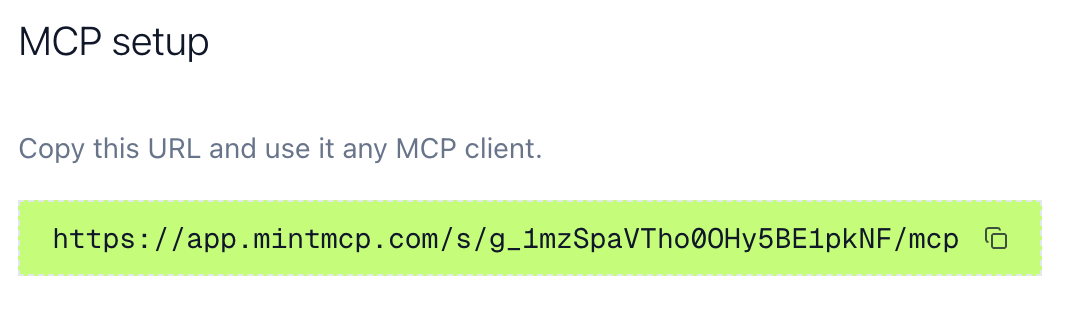
Get your MCP URL
- Go to MCP store in MintMCP
- Click the MCP server you want to connect
- Go to the MCP Client Setup tab
- Copy the MCP URL
Add the server to Claude Code
Run this command, replacing the URL with yours:
claude mcp add -t http my-server https://app.mintmcp.com/s/abc123/mcp
Or edit ~/.claude.json directly:
{
  "mcpServers": {
    "my-server": {
      "type": "http",
      "url": "https://app.mintmcp.com/s/abc123/mcp"
    }
  }
}
Authenticate
- Run
/mcpin Claude Code - Click Login next to your server
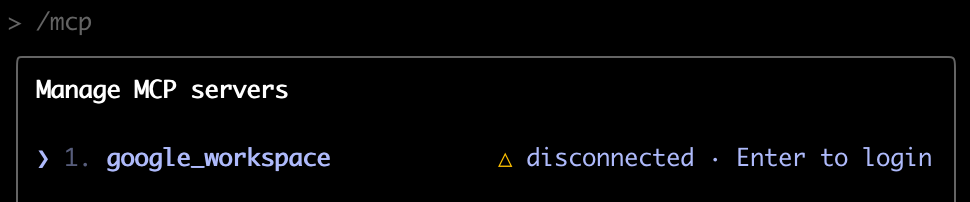
- A browser opens for MintMCP authentication
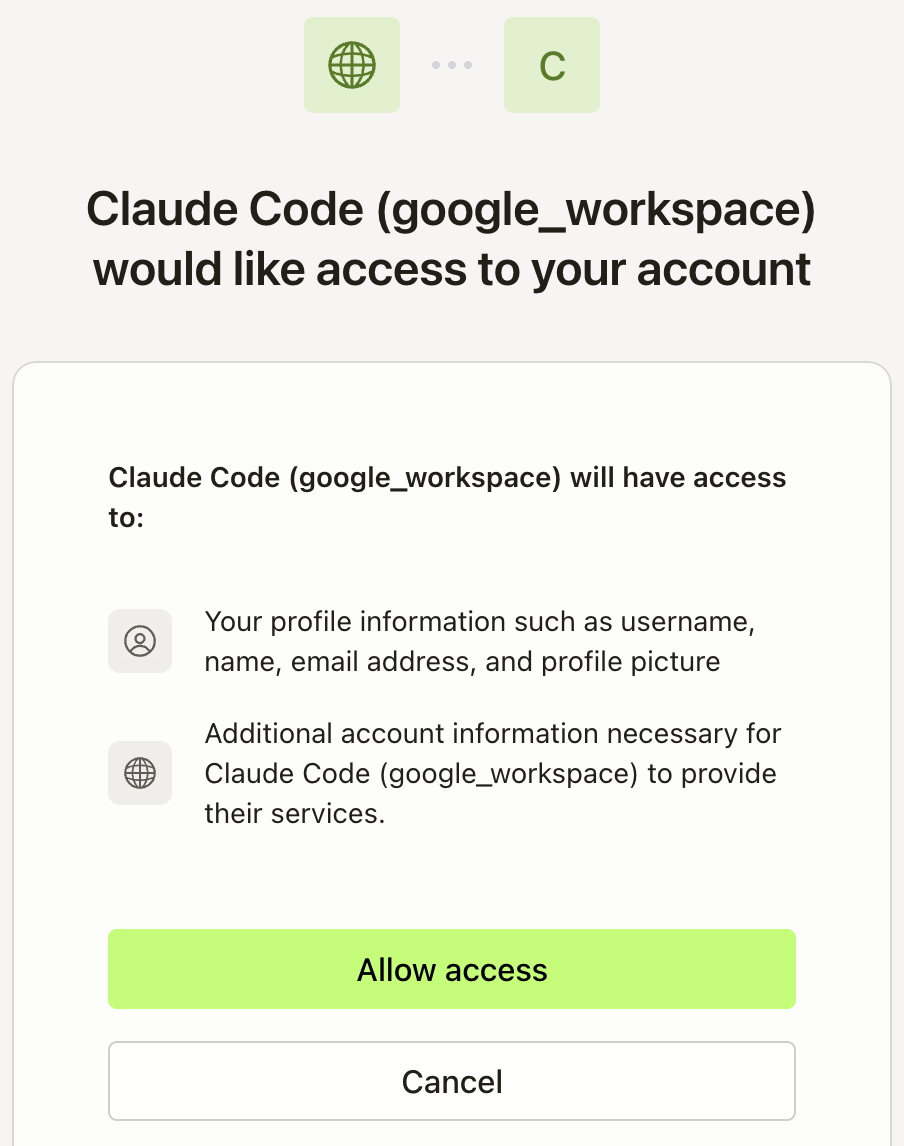
- Sign in with your MintMCP account and return to Claude Code
Verify the connection
Run /mcp again. Your server should show "✔ connected":

Test it by asking Claude to use a tool from the server.