Quickstart
Get your first MCP server running with MintMCP in about 5 minutes. By the end, you'll have an MCP server connected to your AI client and verified with a live tool call.
What you'll do
- Approve an MCP server from the recommended catalog
- Connect it to your AI client
- Verify the connection with a test call
Prerequisites
- A MintMCP account with admin access
- An MCP-compatible AI client (e.g., Claude, ChatGPT, Cursor, Claude Code)
Step 1: Approve an MCP server
- Go to MCP store in MintMCP
- Click the Recommended servers tab
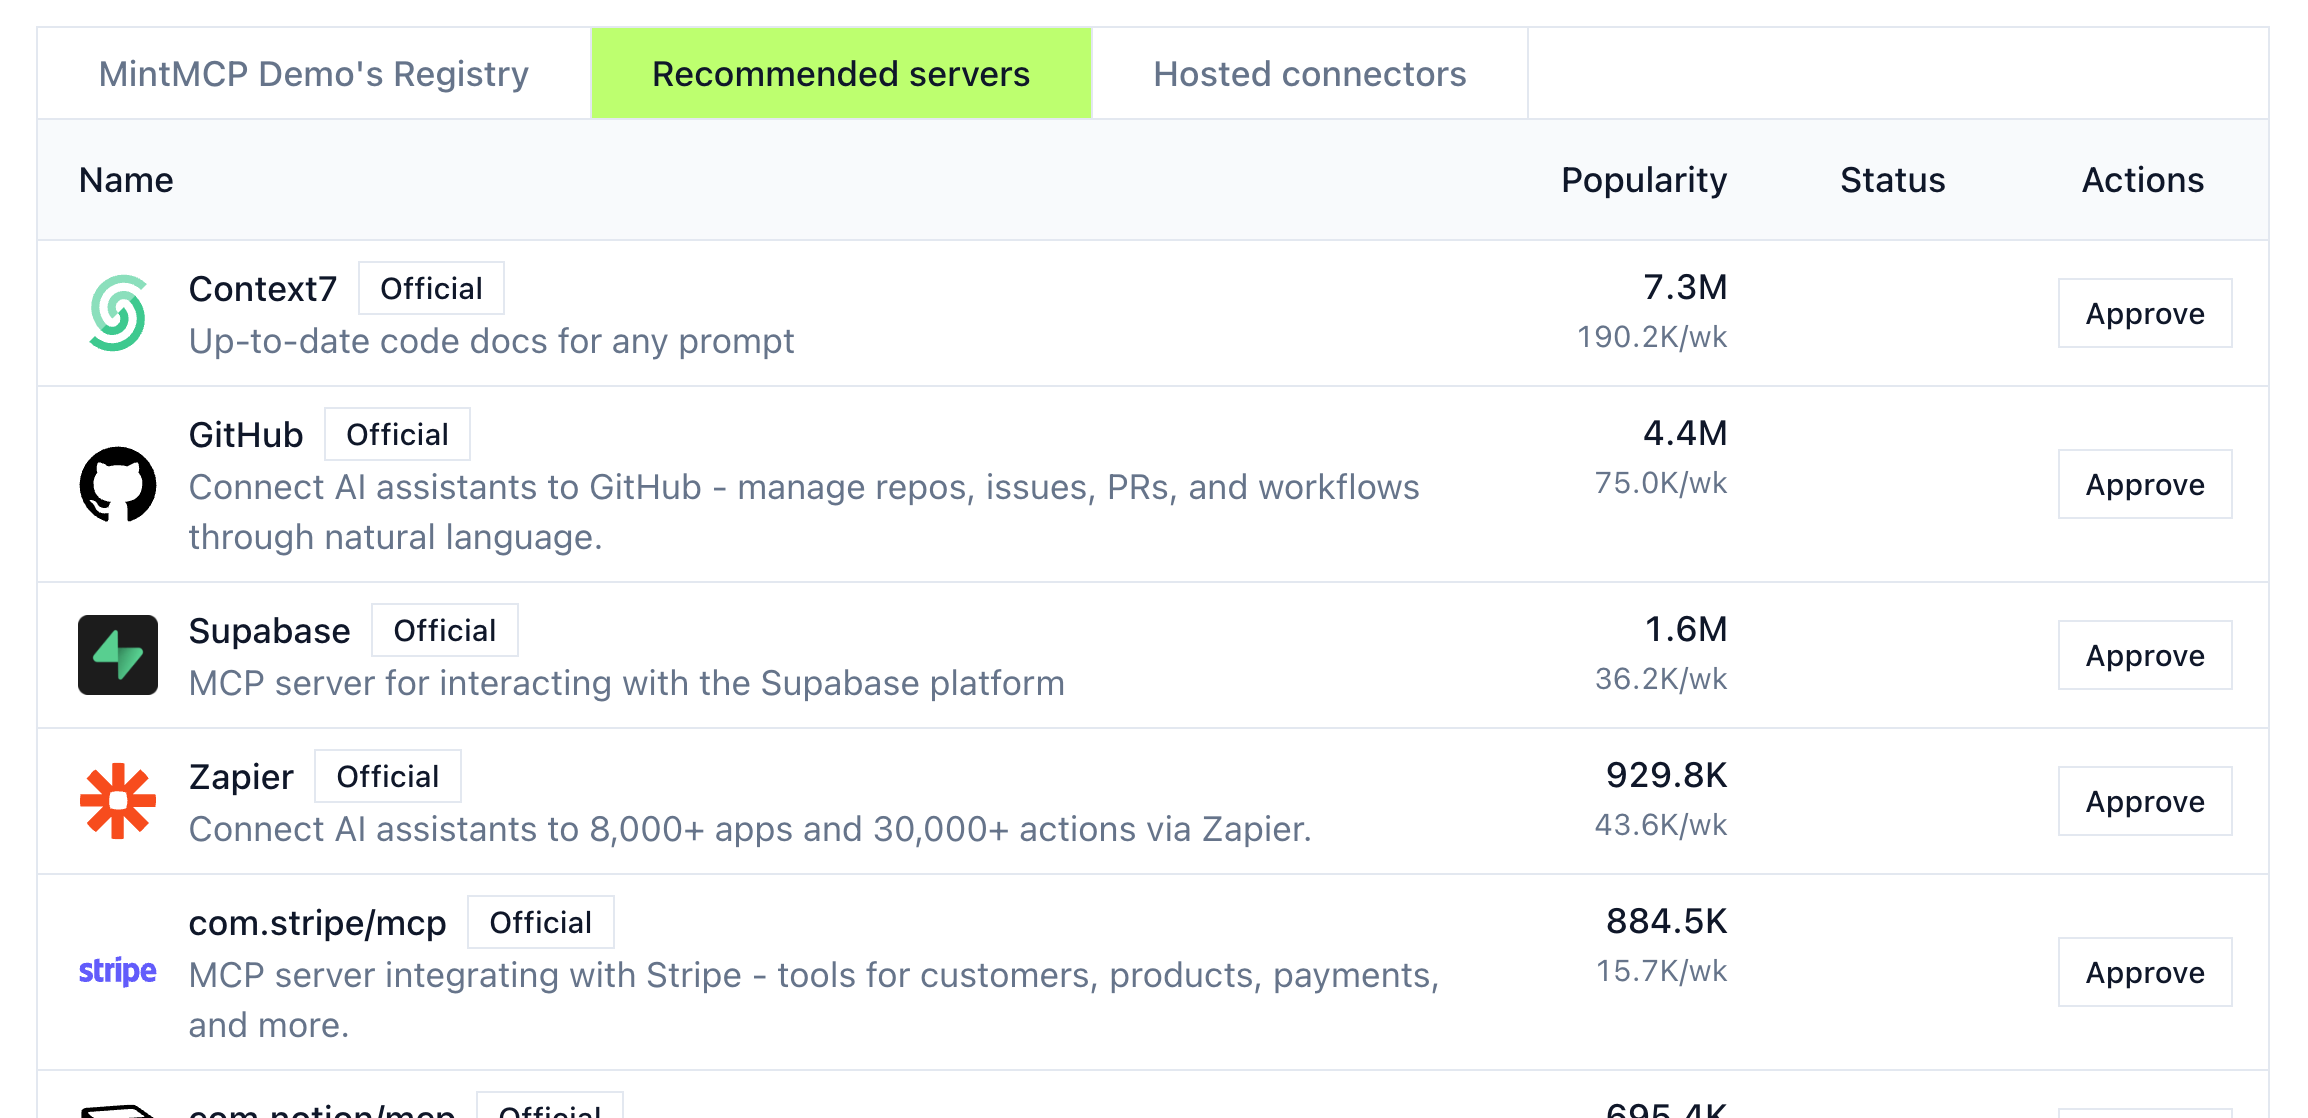
- Find Context7 and click Approve
You'll see a configuration panel:
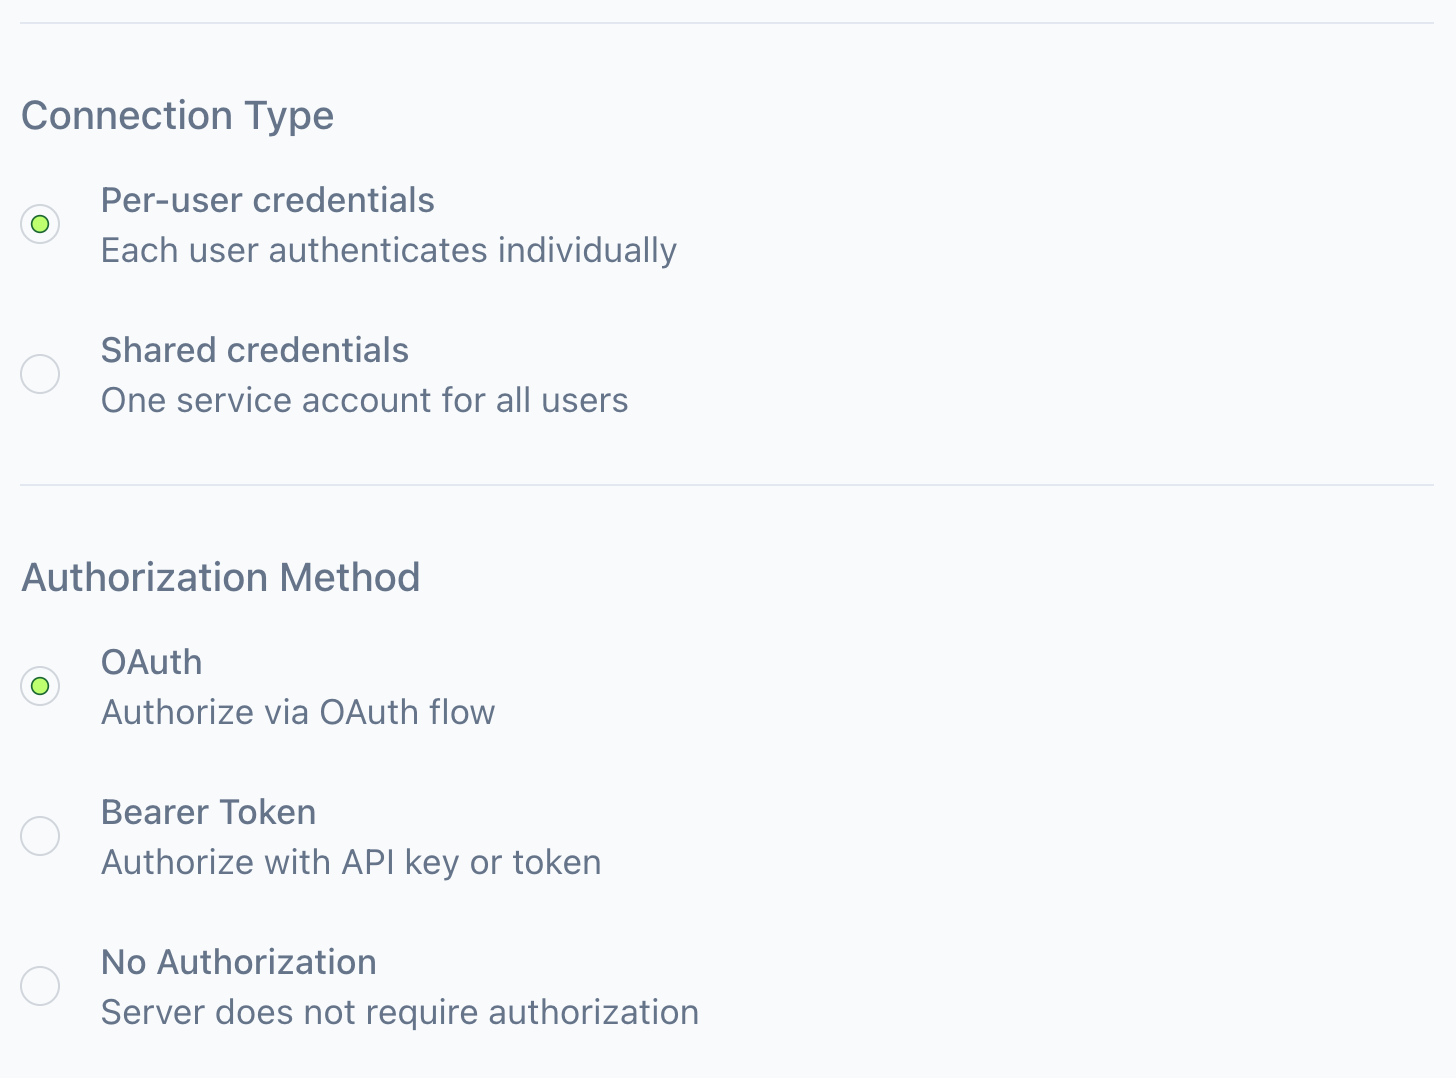
- Select Shared credentials (Context7 doesn't require per-user auth)
- Select No Authorization
- Click Approve Server
The Context7 server now appears in your organization's registry and is ready to use.
Step 2: Connect to your AI client
- Click Context7 in your registry to open its detail page
- Copy the MCP URL from the connection instructions
The next steps depend on your client:
Claude (web)
- Go to Settings > Connectors
- Click Add custom connector
- Paste the MCP URL and name it (e.g., "Context7 via MintMCP")
- Click Add, then Connect and sign in with your MintMCP account
Other clients
See Client Setup for Claude Code, ChatGPT, Cursor, and other AI clients.
Step 3: Verify it works
- Start a new chat with your AI client
- Ask something that uses Context7:
Using context7, look up the documentation for the MCP SDK
- Your client will request permission to use Context7 tools—approve it
- You should see the client fetch documentation from Context7
If your client successfully retrieves documentation, you're all set.
Next steps
- Add more servers: Browse the Recommended servers tab or add a remote MCP for servers not in the catalog
- Customize tools: Click any server to enable or disable specific tools
- Set access policies: Control which team members can use each server in Administration