Connect Claude web and desktop to MintMCP
Connect Claude (web or desktop) to MCP servers managed by MintMCP. Both platforms use the same connector configuration.
Prerequisites
- A Claude account
- A MintMCP account with access to at least one MCP server
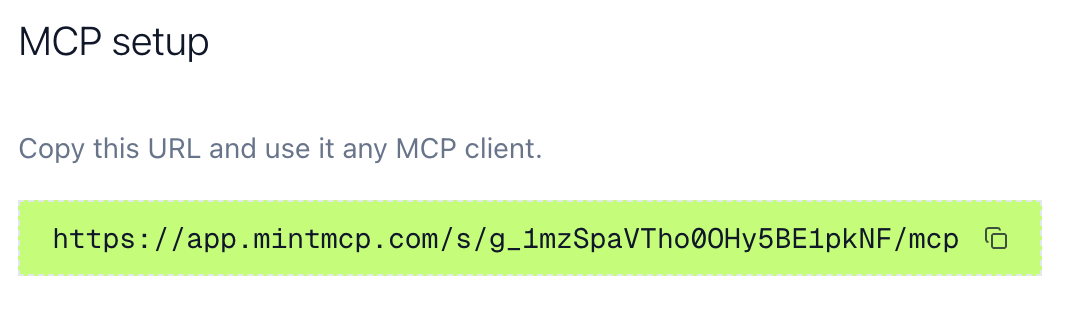
Get your MCP URL
- Go to MCP store in MintMCP
- Click the MCP server you want to connect
- Go to the MCP Client Setup tab
- Copy the MCP URL
Add the connector in Claude
- Go to Settings > Connectors
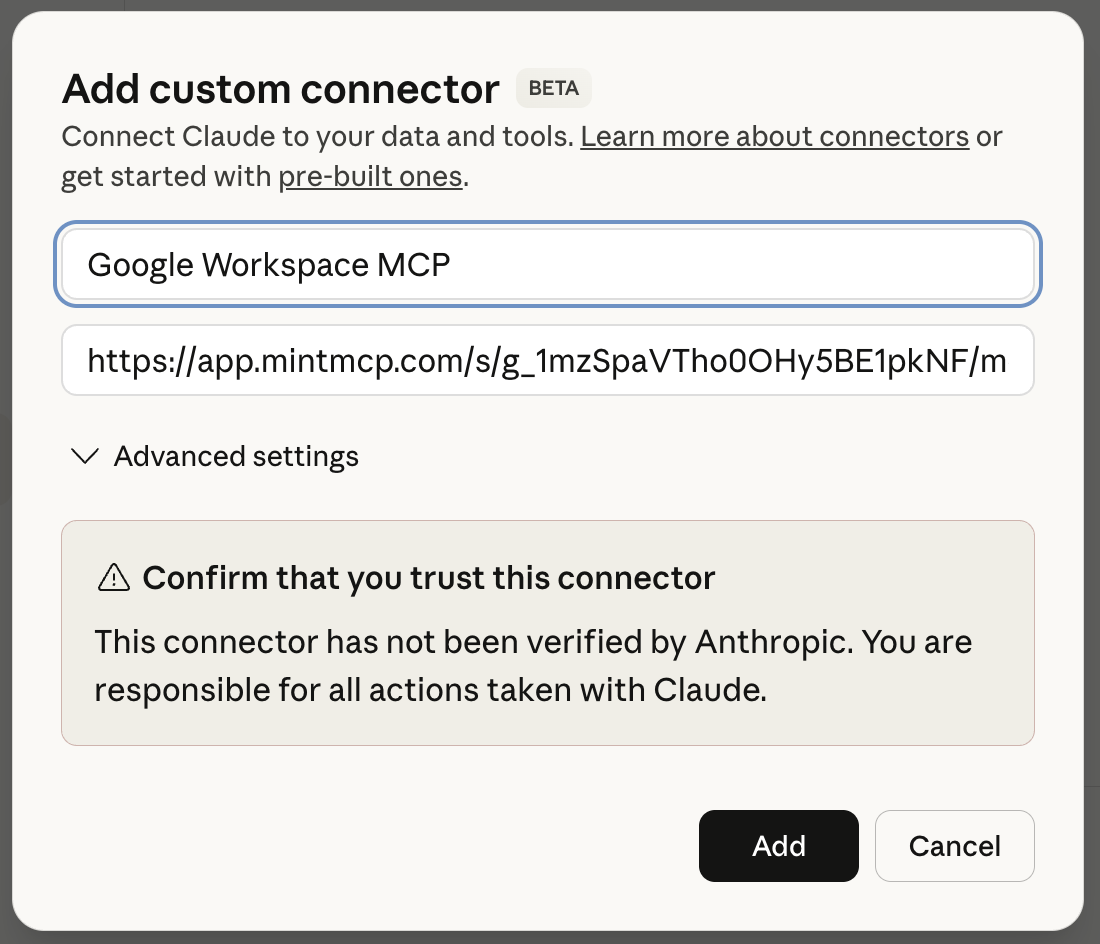
- Click Add custom connector
- Name it and paste your MCP URL
- Click Add
Authenticate
- Find your connector in the Connectors page
- Click Connect
- Sign in with your MintMCP account when redirected
- You'll return to Claude after authentication
Verify the connection
- Start a new chat
- Your MCP connector appears in the chat interface
- Ask Claude to use a tool from the server
- Approve when Claude requests permission