Connect LibreChat to MintMCP
Connect your LibreChat instance to MCP servers managed by MintMCP.
Prerequisites
- LibreChat running (Docker or standalone)
- Admin access to LibreChat configuration files
- A MintMCP account with access to at least one MCP server
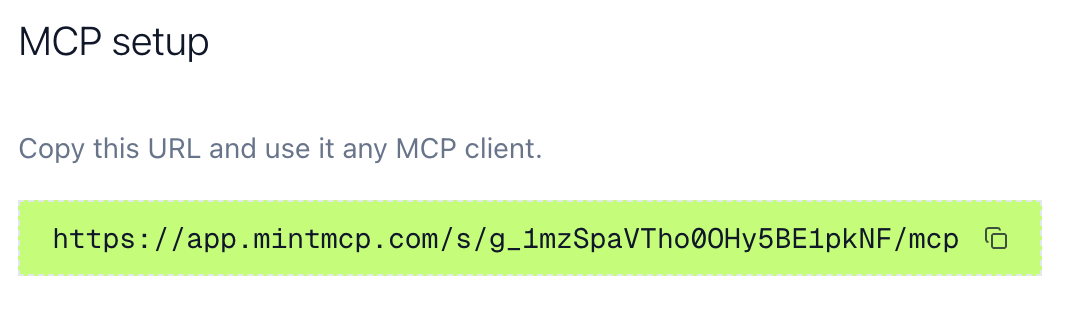
Get your MCP URL
- Go to MCP store in MintMCP
- Click the MCP server you want to connect
- Go to the MCP Client Setup tab
- Copy the MCP URL
Configure LibreChat
Add your MCP server to librechat.yaml:
mcpServers:
  my-server:
    type: streamable-http
    url: https://app.mintmcp.com/s/abc123/mcp
    timeout: 60000
Replace the url with your MCP URL from MintMCP.
For Docker, ensure the config is mounted in docker-compose.yml:
services:
  api:
    volumes:
      - ./librechat.yaml:/app/librechat.yaml:ro
Then restart LibreChat:
docker-compose restart
Authenticate
- Open LibreChat in your browser
- Start a new chat
- Find the MCP dropdown below the text input
- Select your MCP server

- Complete the MintMCP OAuth flow

- A green popup confirms the connection
Verify the connection
With your MCP server selected, ask LibreChat to use a tool from the server.